Deploy website via Github webhook
Getting started with Github webhook
-
Introduction 💻
Git is your best friend when you want to keep track of your source code. Github provides a git repository for those source code which allows you to store, manage, and collaborate within your team. Github can send a hook to any HTTP endpoint when certain events occur. For example when you push a new version into the repository, Github will send a notification to your endpoint signaling your deployment to pull the source code again.
We have created a docker image which acts as a reverse proxy to your website and writen a webhook endpoint which can accept hooks from Github. This image will keep your website content aligned with the version in git.
-
How to start your static website ?
- Firstly, create
new workloadand chooseStateful Set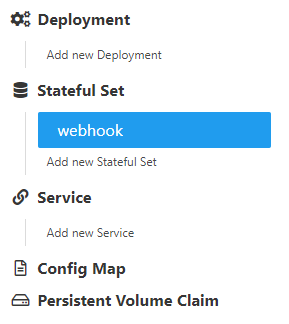
- Fill
Stateful Set NameandService Name.
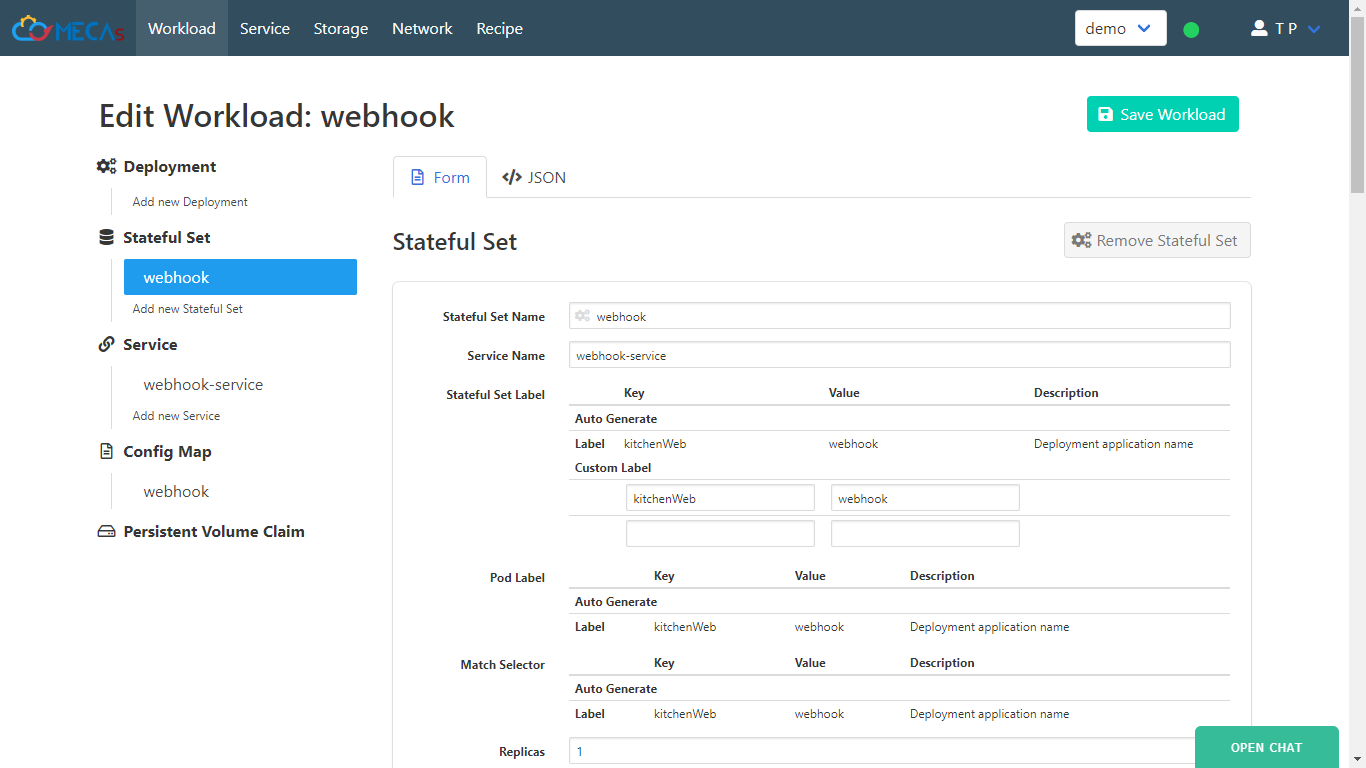
-
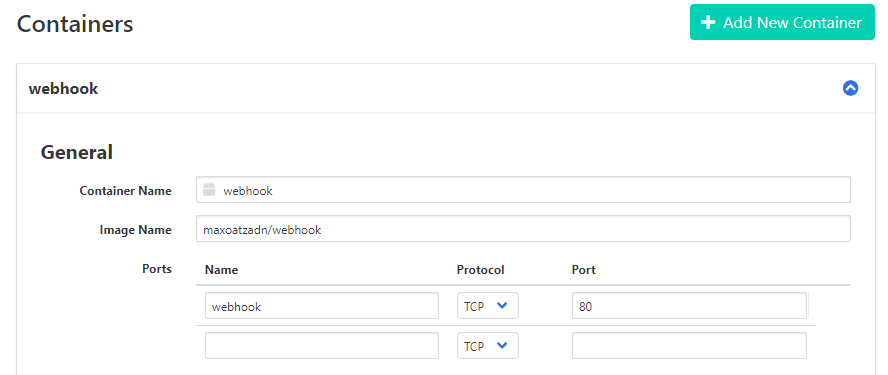
Create new container that’s have webhook image inside.
Container Name: <”Your container name”>
Image Name: “maxoatzadn/webhook”
Ports:
-Name: <”Name container port”>
-Port: “80”Hint: Port 80 is default port of nginx.
-
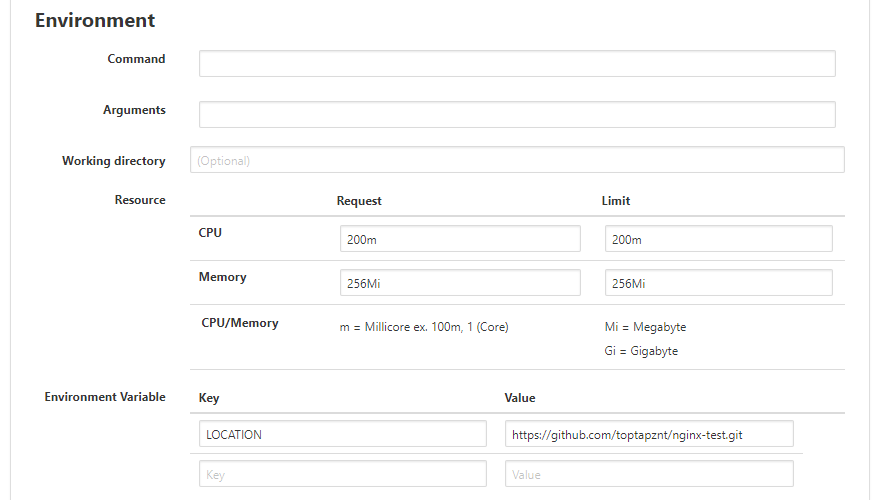
Fill Enviroment Varible with your GitHub source code repository for website’s content which will be cloned into the container.
Environment Variable:
-Key: “LOCATION”
-Value: <”Your project on github”>
(eg. https://github.com/toptapznt/nginx-test.git)
-
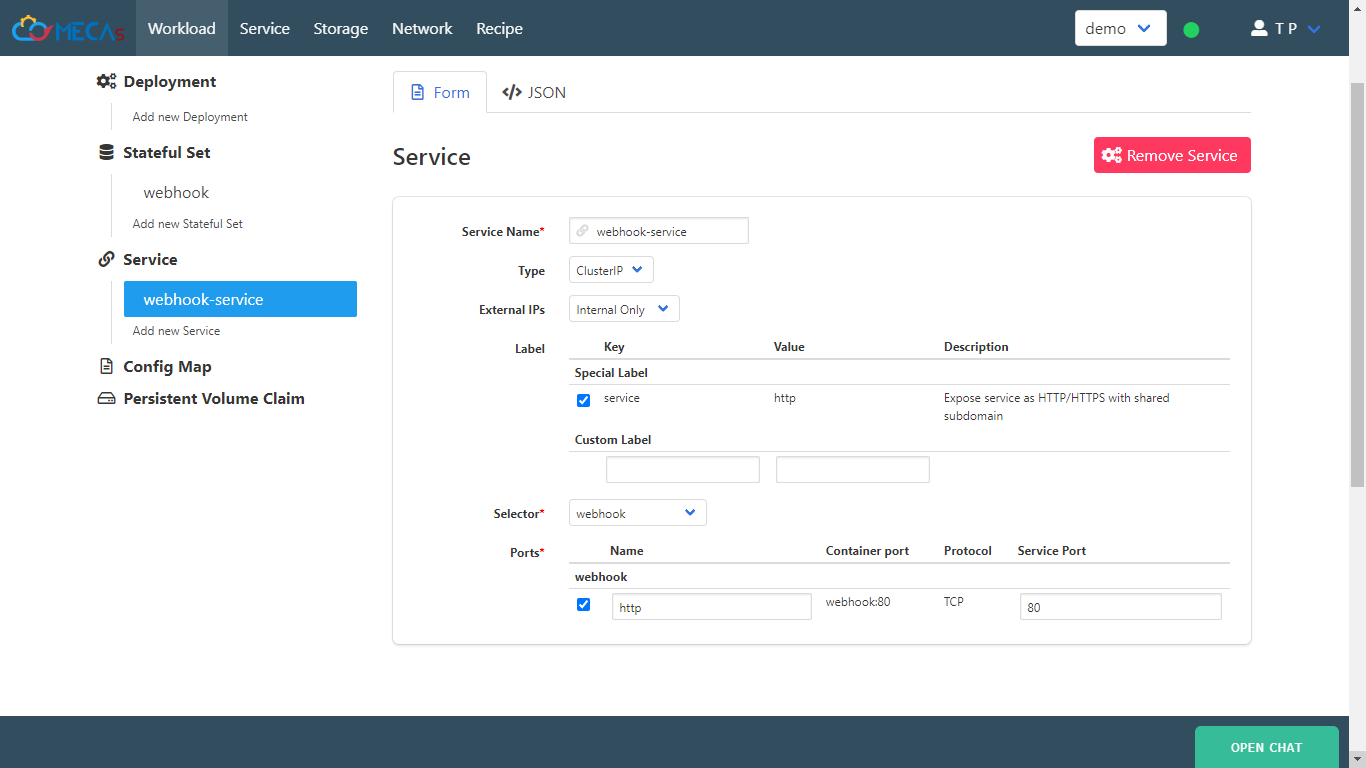
Create new service that’s target to your container and select service name that’s same as previous part.
Service Name: <”Your service name”>
select :Label
Selector: select container that’s your create.
Ports:
-Name: <”Name service port”>
-Service Port: “80”
-
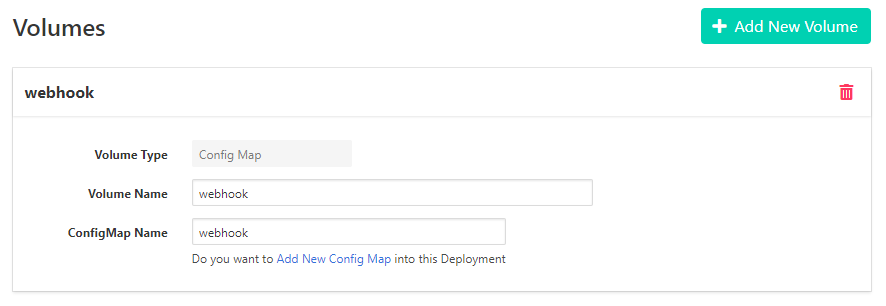
Create new volume, type
Config Map.
Volume Name: <”Your Volume name”>
ConfigMap Name: <”Your ConfigMap name”>
then, click Add New Config Map.
- Insert new ConfigMap data that’s for nginx config file.
Key: “default.conf”
Content: you can use content of default.conf file below.
Given
rootandindexare root contents of your app (html) from GitHub for nginx.# default.conf server { listen 80; server_name localhost; location / { root /App; index index.nginx-debian.html; } error_page 500 502 503 504 /50x.html; location = /50x.html { root /usr/local/openresty/nginx/html; } location /_hook { default_type text/html; content_by_lua_block { os.execute("/bin/webhook.sh") ngx.say("<p>pull complete !!</p>") } } }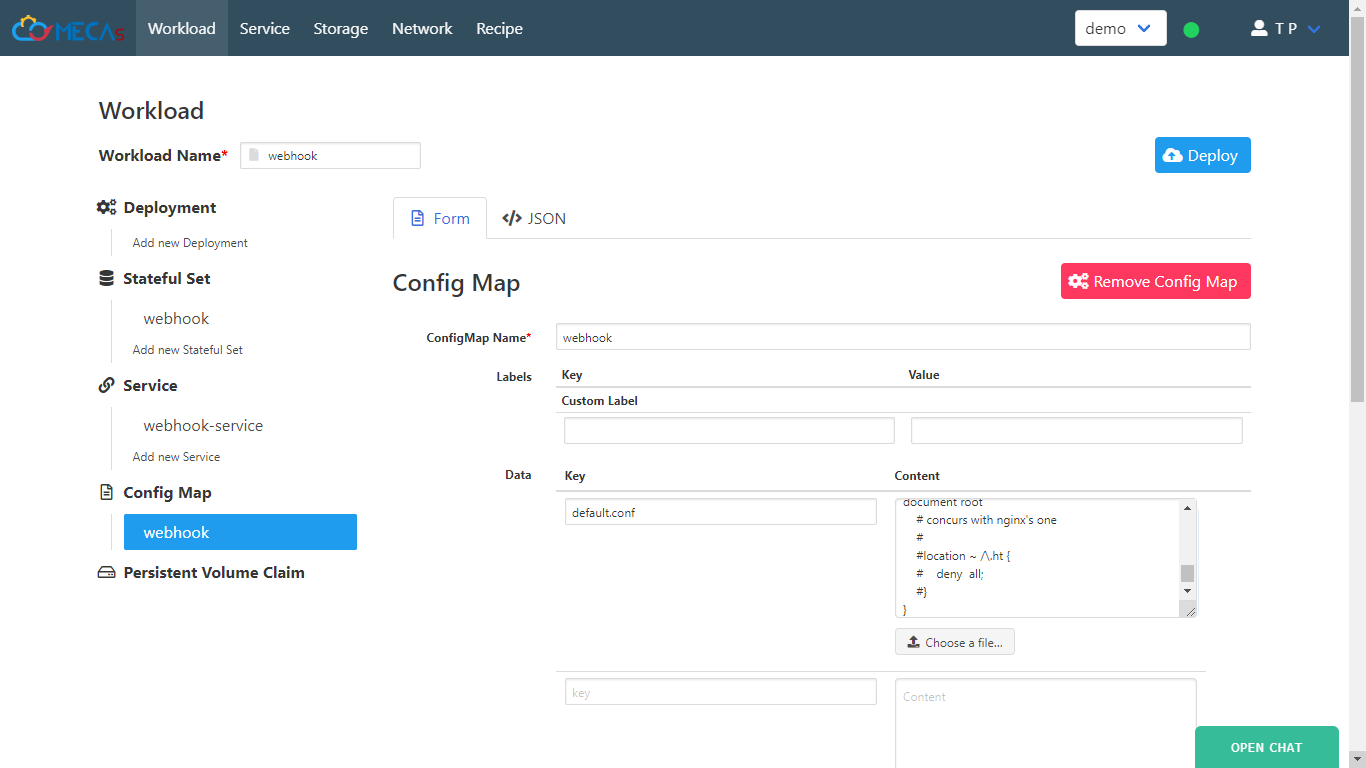
-
Back to Stateful Set, Add new volume mounts for mounts default.conf from configMap to
/etc/nginx/conf.d.
Volume Name: <”select your configMap name”>
Mount Point: “/etc/nginx/conf.d”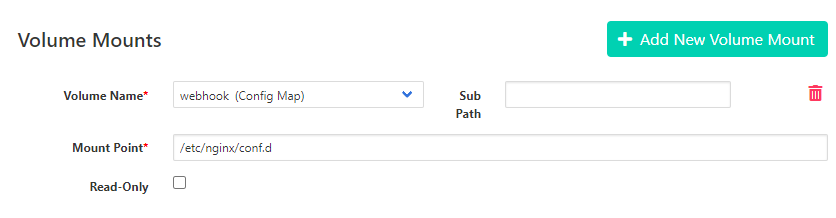
- Click Deploy.
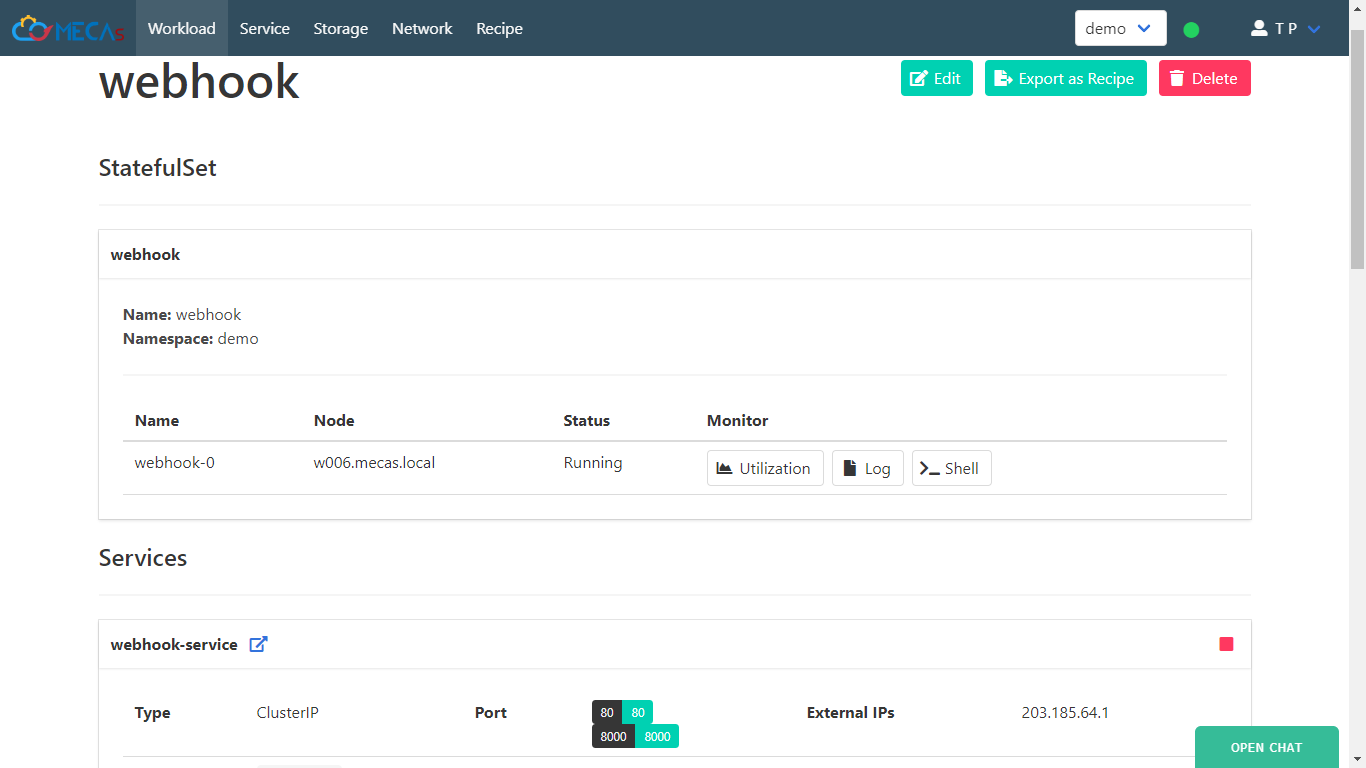
- Now we got new workload that’s contain webhook container inside pod.
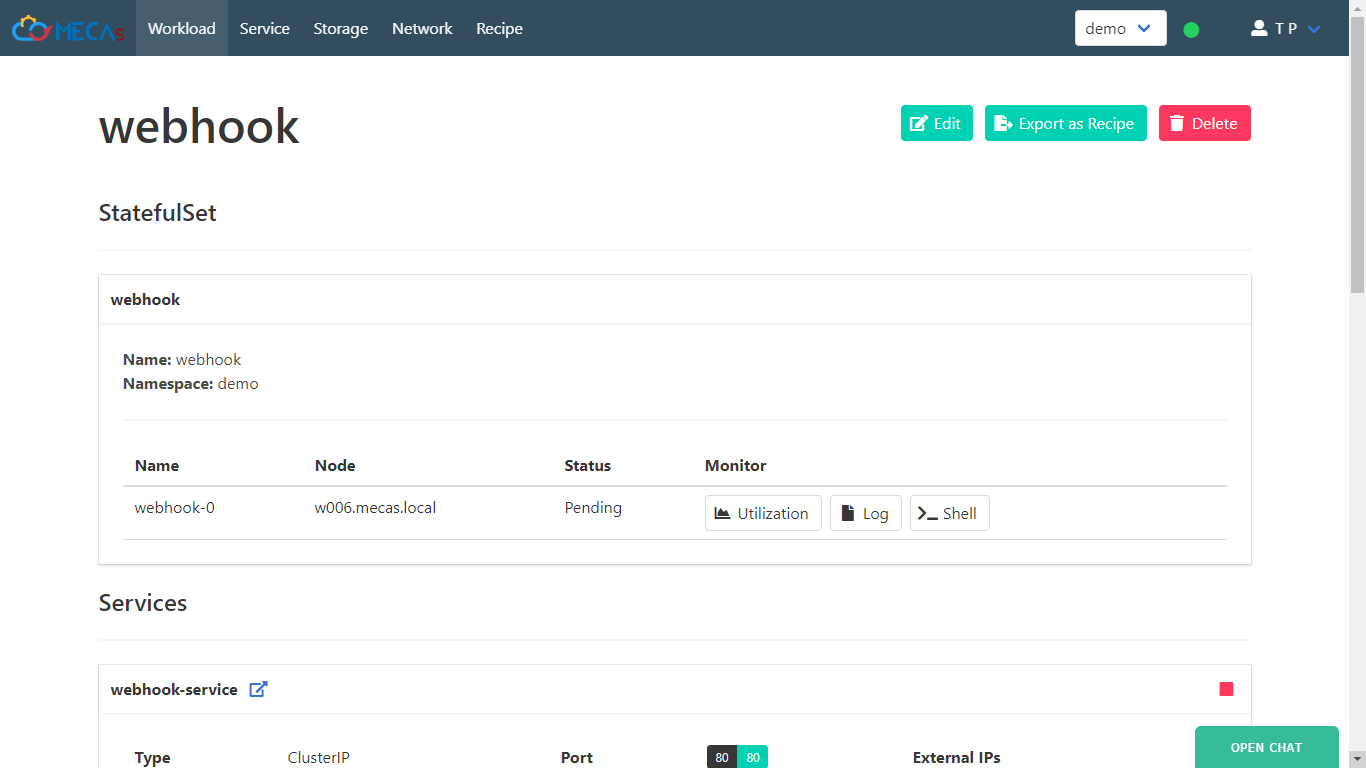
- Scroll down to services and click link for view your web page has deploy.
-
Setting Git Webhook
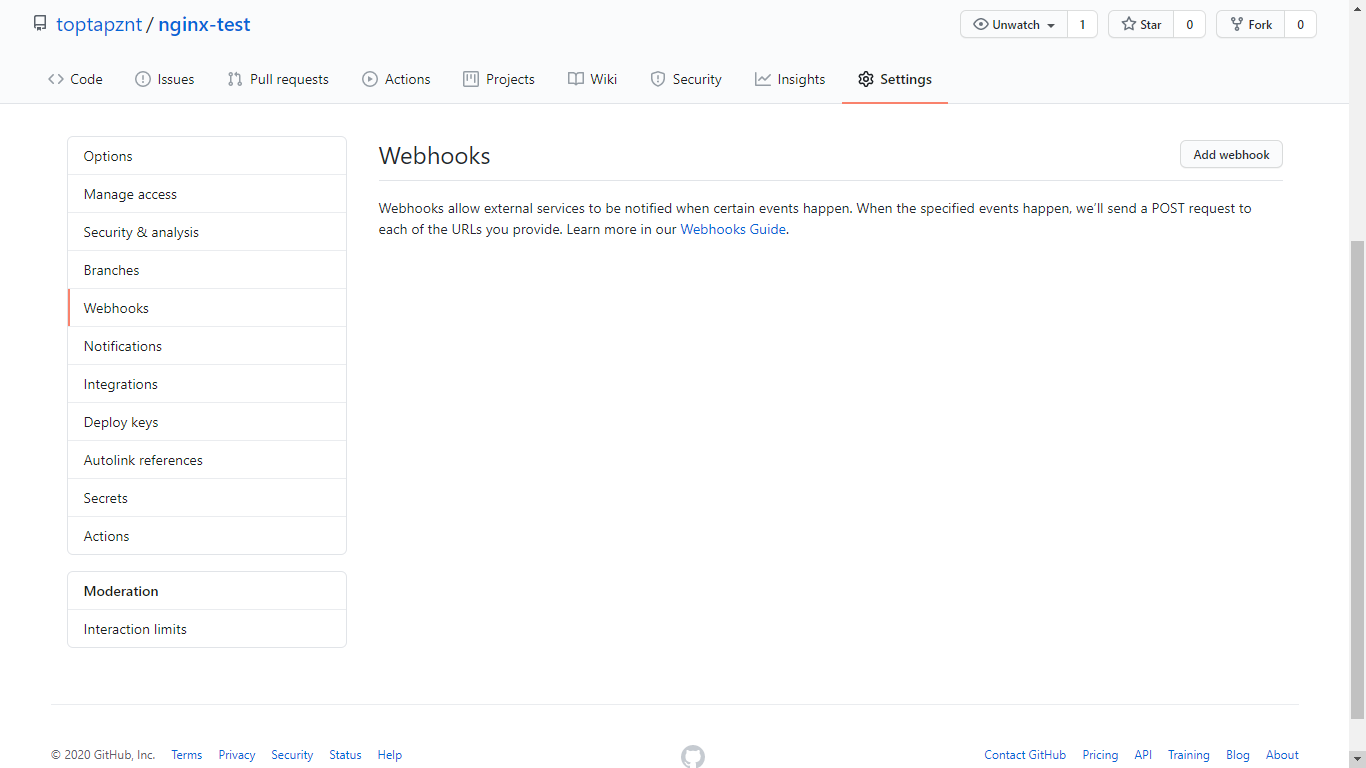
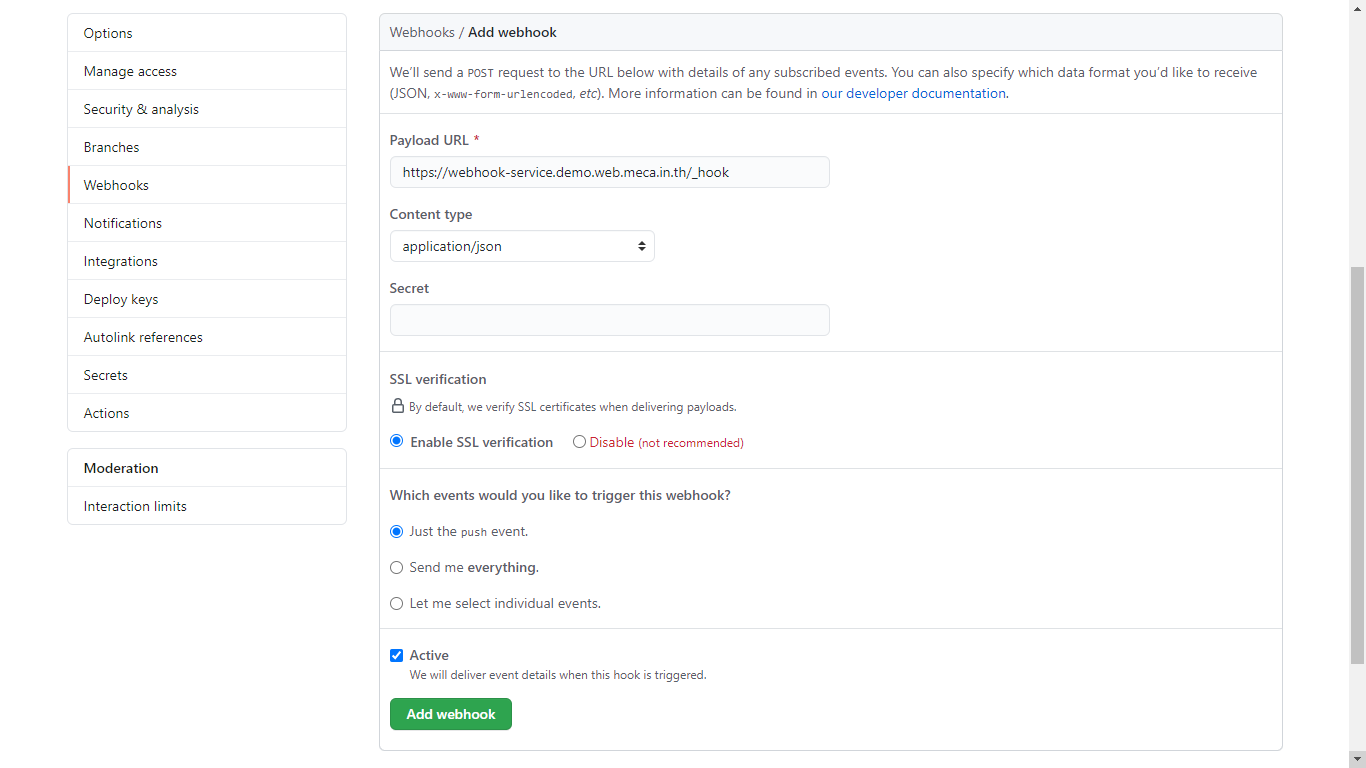
- Go to your project on GitHub, then click setting select webhook menu and click Add webhook.
- Change
Payload URLto your domain name and append with/_hook.
SelectContent typetoapplication/json.
SelectJust the push event.for git request to trigger your website and pull contents when every push event of your project.
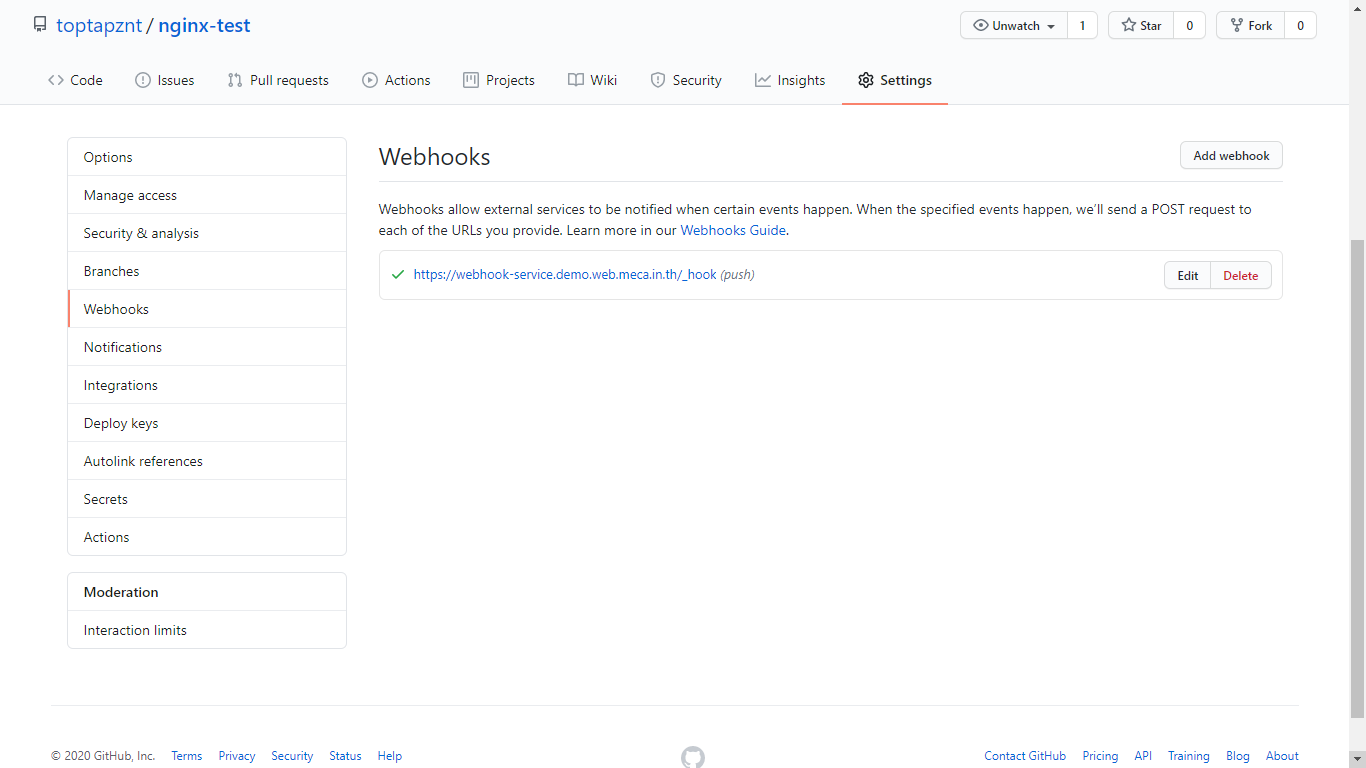
Click Add webhook.
- Now, you complete to set webhook.
- Test git webhook by change content project and push.
    <!DOCTYPE html>
    <html>
    <head>
    <title>Sawadee to nginx!</title>
    <style>
        body {
            width: 35em;
            margin: 0 auto;
            font-family: Tahoma, Verdana, Arial, sans-serif;
        }
    </style>
    </head>
    <body>
    <h1>Hello World !</h1>
    </body>
    </html>
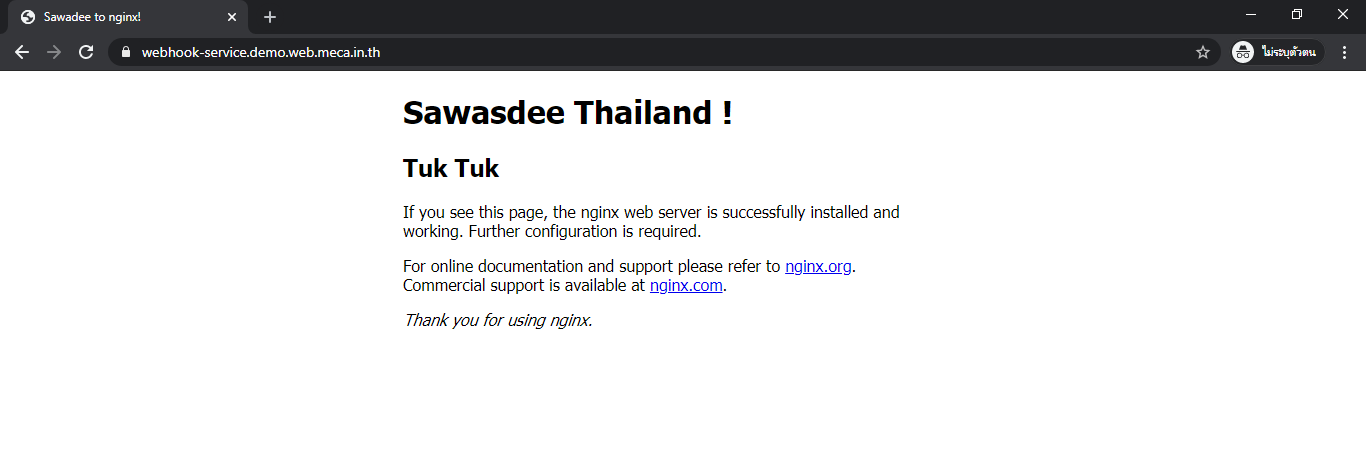
Now, Content of your website will change to below picture.

-
Start new PHP Web Application container
In this tutorial will show how to deploy PHP-Apache that’s connect with git webhook.
- Click Edit your workload.

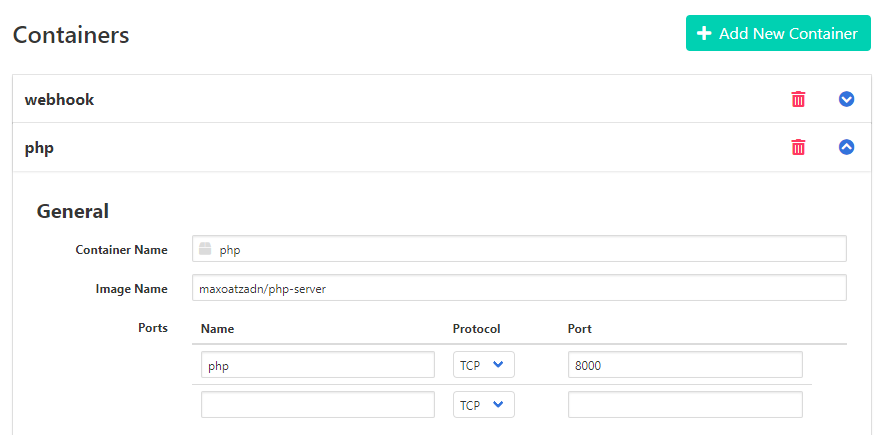
- Add your PHP Application image by click on Add New Container. Then fill
Container Name,Image Nameand set port of your application will listen to in this tutorial will be 8000.
Container Name: <”your container name”>
Image Name: “maxoatzadn/php-server”
(This’s php-apache image running on port 8000)
Warning! Webhook base on nginx running on port 80 and care about web server port make sure your application is not running on port 80 too. In this tutorial we use modify image from php:7.2-apache.
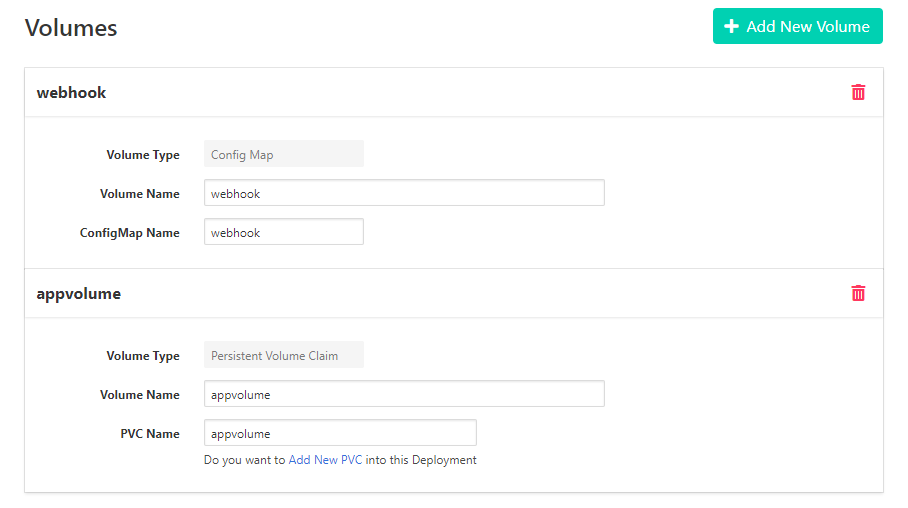
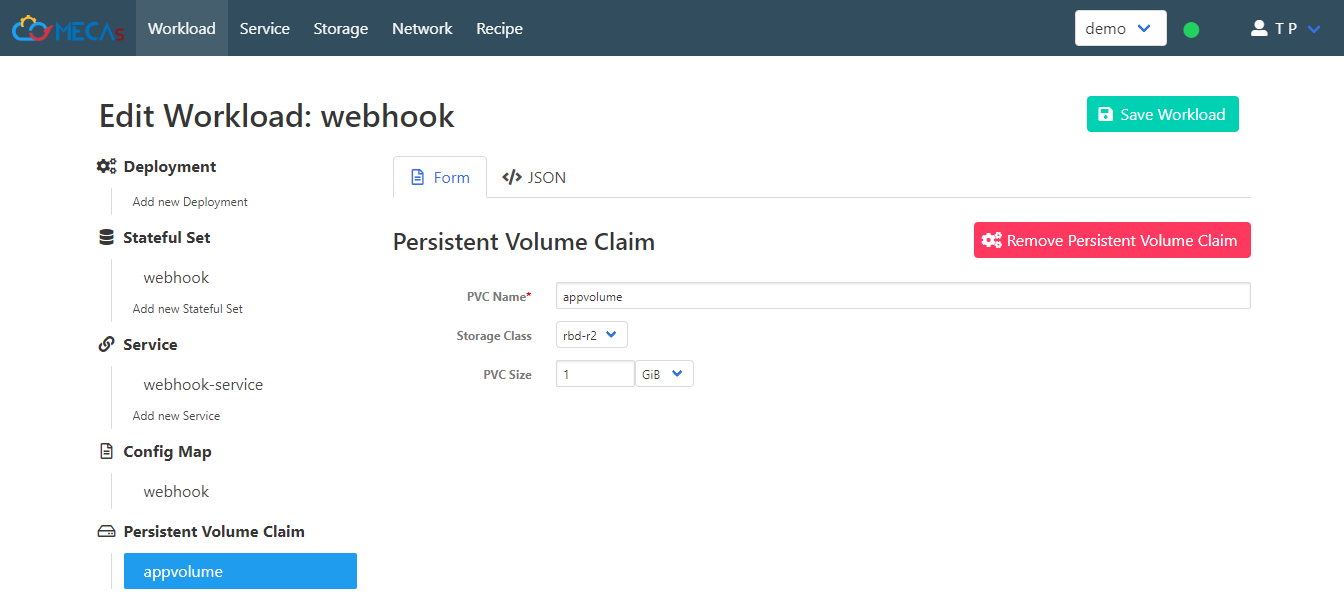
- Create new volume, type
Persistent Volume Claim. which will hold your source code
Volume Name: <”Your PVC Volume name”>
PVC Name: <”Your PVC name”>
then, click Add New PVC.
- Select Storage Class.
Storage Class: “rbd-r2”
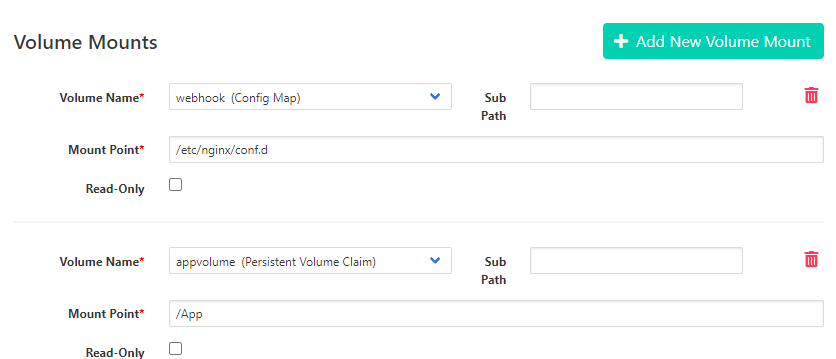
- We will make previously created PVC available on both webhook container and php application container. In Stateful Set menu, click Add New Volume Mount on each container to create a mount point of webhook container and web server container (php). Same volume content will available between two container.
- Mount of webhook
Volume Name: <”select your PVC name”>
Mount Point: “/App”
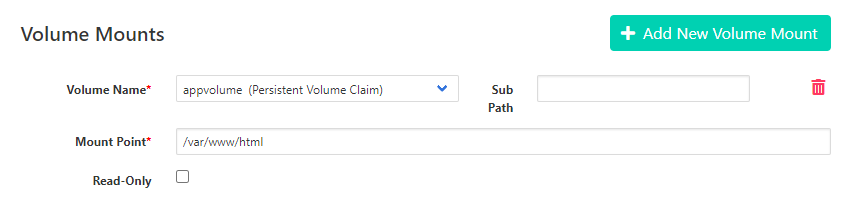
- Mount of web server
Volume Name: <”select your PVC name”>
Mount Point: “/var/www/html”
- Mount of webhook
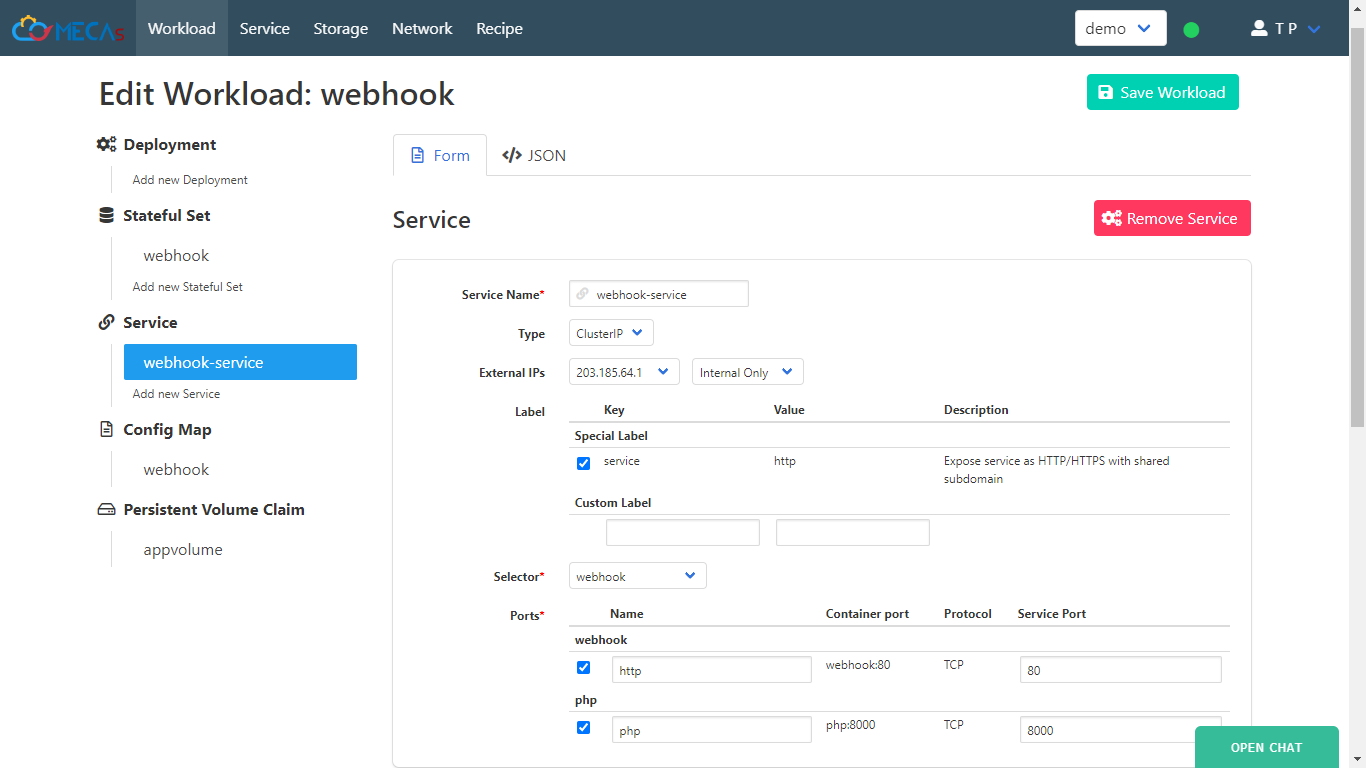
- For next, lets open port 8000 of service.
- Go to Config Map change code to below.
# default.conf server { listen 80; server_name localhost; location / { # root /App; # index index.nginx-debian.html; # add proxy_pass to web server that's running at port 8000. proxy_pass http://localhost:8000; } error_page 500 502 503 504 /50x.html; location = /50x.html { root /usr/local/openresty/nginx/html; } location /_hook { default_type text/html; content_by_lua_block { os.execute("/bin/webhook.sh") ngx.say("<p>pull complete !!</p>") } } } -
Save Workload
- Click link service to view your website.
-
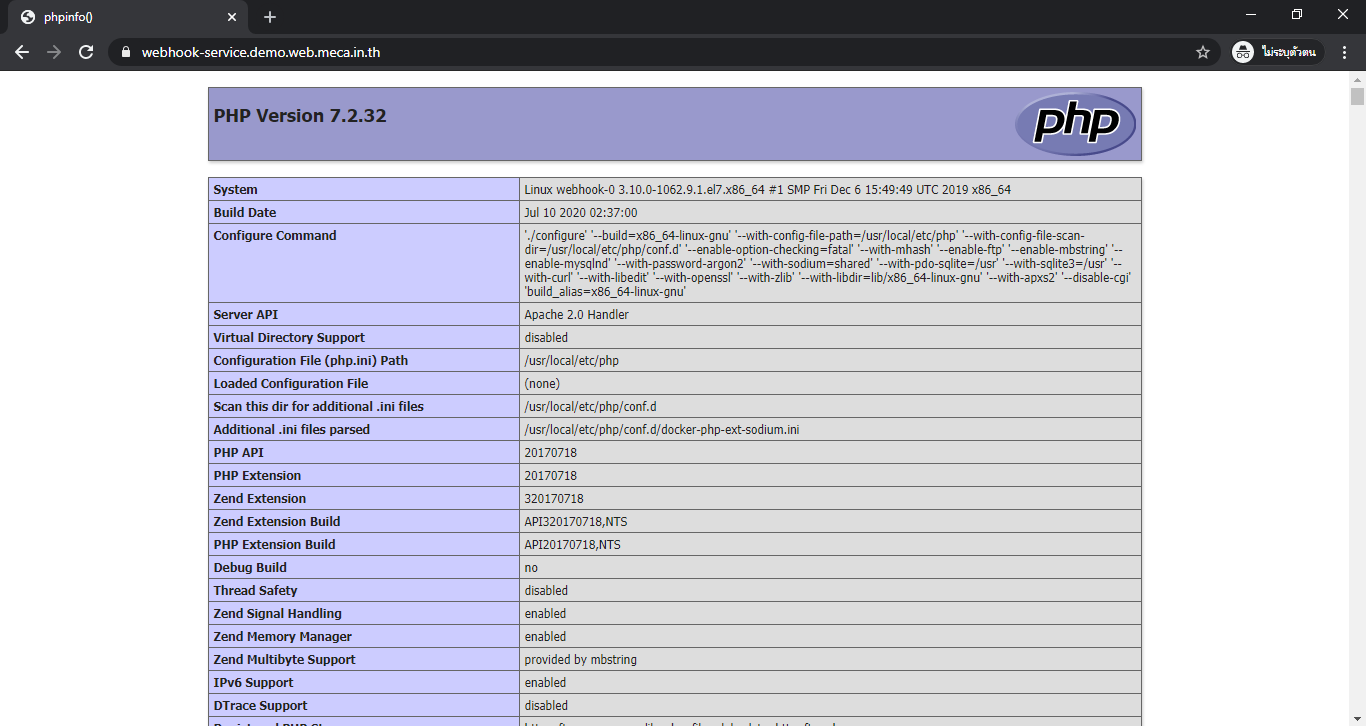
push index.php to your GitHub.
   # index.php
   <?php
   echo phpinfo();
   ?>
Now, you can see content of your website.
Reference : https://hub.docker.com/r/maxoatzadn/webhook
Good luck … ✌️